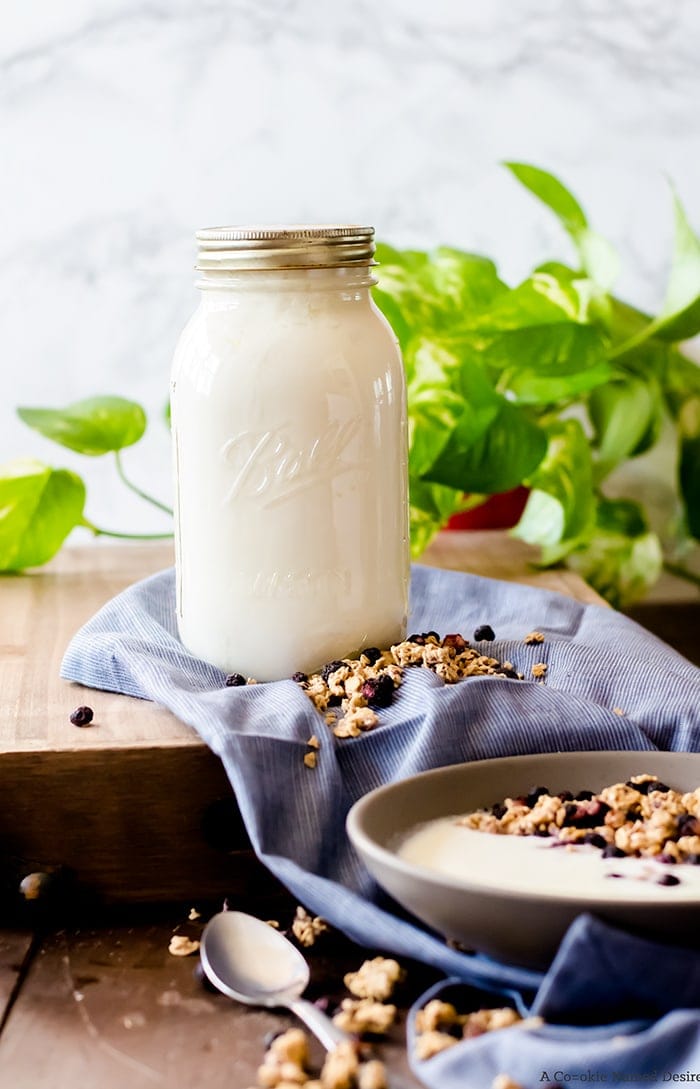
An easy-to-follow guide on how to make homemade yogurt using what you already have in the house – no fancy equipment needed! Now you can have freshly made yogurt for a fraction of the cost. This foolproof yogurt recipe will be a new staple in your home.
I am the kind of person who will come up with some random thing they decide they absolutely must do and latch on until it’s done. I am talking all-out obsessing over it and finding out everything I can and what materials I need to do it and how much it’ll cost and on and on and on. Well, this past few weeks it’s been learning how to make yogurt at home. My daughter and I love yogurt and go through a quart of yogurt in a few days. At just under $5 a quart, it can get pretty expensive. I have this book that I love getting inspiration from called Homemade Pantry that had a section on making yogurt at home….. but she uses a yogurt maker which just feels like cheating to me.
While I looked up prices of yogurt makers, I knew I wanted the challenge of doing it “the old fashioned way.” Making something like yogurt at home makes me feel as though using a machine to make it takes the fun out of it. Besides, I want to show you that you don’t have to spend any additional money on a yogurt maker if you don’t want to.
When I first attempted to make homemade yogurt, I didn’t use a thermometer because I wanted to see if I could use visual cues (because again, I wanted to see if I could make it this way if you don’t have a thermometer available). I got distracted with switching shows on Netflix (anyone else like to watch stuff on their phones or tablets while they cook? My latest Netflix obsession is Lost Girl which is kind of weird, but I can’t stop watching it!) and let the milk boil over which is something you do not want to have happen. At this point, the yogurt I used as my starter (more on that later) was not added, so the milk was still usable. I just had to transfer pots because there was now bit of burnt milk on the bottom of my pot and swimming around. Ew. The end results smelled like yogurt, and certainly tasted like yogurt. Sweet! It kind of reminded me of smetana in a way – I really liked it and so did my daughter!
But what you want to look for when you are not being distracted by Netflix, is steam and a lot rumble, especially at the edges. It may even look a bit foamy at the top and/or sides.
The second time I made it, I used a thermometer and made sure I did not let the milk burn at the bottom of the pot. It was perfect! I still believe you don’t need a thermometer to make homemade yogurt as long as you aren’t me and won’t get too distracted.
Basic Tools to Make Homemade Yogurt:
To make homemade yogurt, you will need a starter. You can buy powdered yogurt starter, but store-bought yogurt works too. If you use store-bought yogurt, you have to use plain yogurt – the more culture varieties, the better it is for you. If you want flavored yogurt, you can add your flavorings after the yogurt is finished. You also need to use a heavy lidded pot that can retain heat well and a way to keep the pot warm. You can either keep the pot in the oven with the light turned on, or wrapped in a towel. My oven light gets the over really warm, so I wrap my pot in a towel and leave the oven light on for only an hour or so before turning it off.
Additional Notes:
- The flavor of your homemade yogurt will be influenced by the type of store bought yogurt you purchase and the cultures they use. I usually use Oikos Greek Yogurt or Fage.
- If you use the oven light method, it will create a warmer environment which I’ve found also makes the yogurt thicker and therefore produce more whey.
- The fat content will change the thickness and flavor of the yogurt.
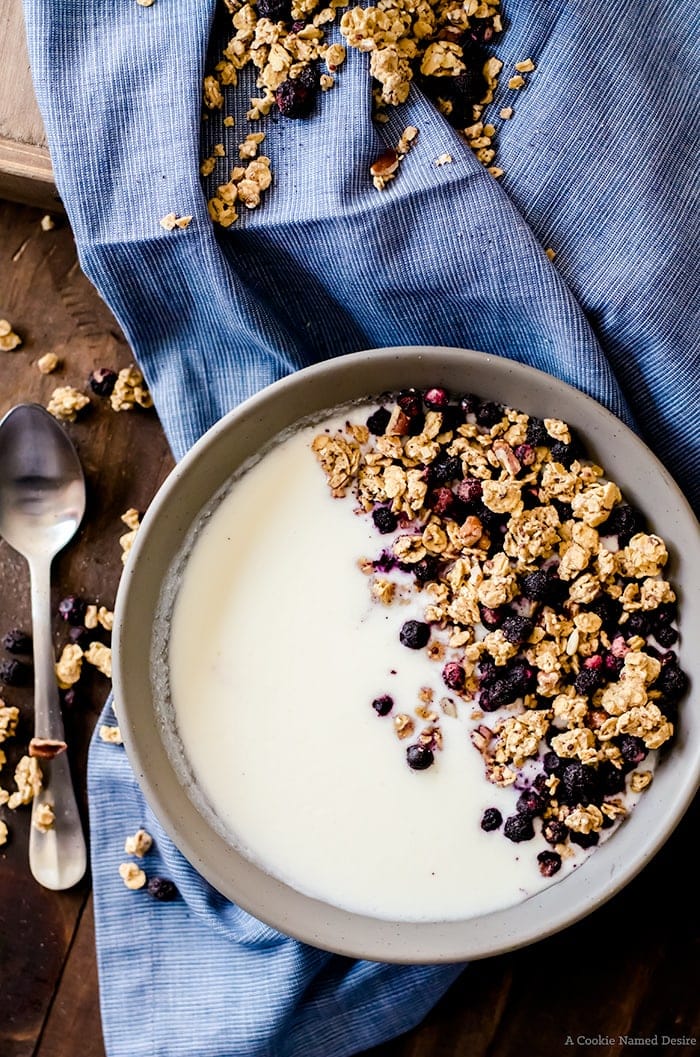
- The longer you let the yogurt set and the thicker it is, the more tart the yogurt will be. (I prefer a very thick, tart yogurt)
- There will probably be some whey sitting on top of your yogurt. If that happens, you can either mix it back in for a thinner yogurt, or strain it out with cheesecloth for thicker yogurt. If you strain it out, don’t throw it away! You can use it in your baking in place or water, milk, or buttermilk. I love it in my pancakes and muffins!
- When you make yogurt again, reserve 1/2 cup of your homemade yogurt to make a new batch. You can keep doing this until the yogurt gets a funny taste or smell which is a sign that the bacteria is weakened. When that happens, start over with store-bought yogurt.

- half gallon milk (more fat in the milk equals thicker yogurt)
- ¼ cup store-bought yogurt*
- Heat the milk in an uncovered heavy-bottomed pot until the milk reaches 200 degrees (it should be rumbling lightly, but not boiling). Stir and scrape the bottom of the pot occasionally to prevent the milk from burning.
- Take the pot off the heat and allow the milk to cool to about 110 - 115 degrees, or just cool enough for you to comfortably dip your finger in the milk. Stir frequently to prevent skin forming on the milk. While the milk is cooling, put the yogurt in a small bowl and lightly whisk. Once the milk is cooled to 110 - 115 degrees, slowly mix ⅓ of the milk in with the yogurt and whisk until fully combined. Transfer the yogurt mixture back to the pot.
- Place the covered pot in a warm, dry area for 4 hours or up to overnight. You can either leave the pot in an oven with the light turned on or wrap in a towel.
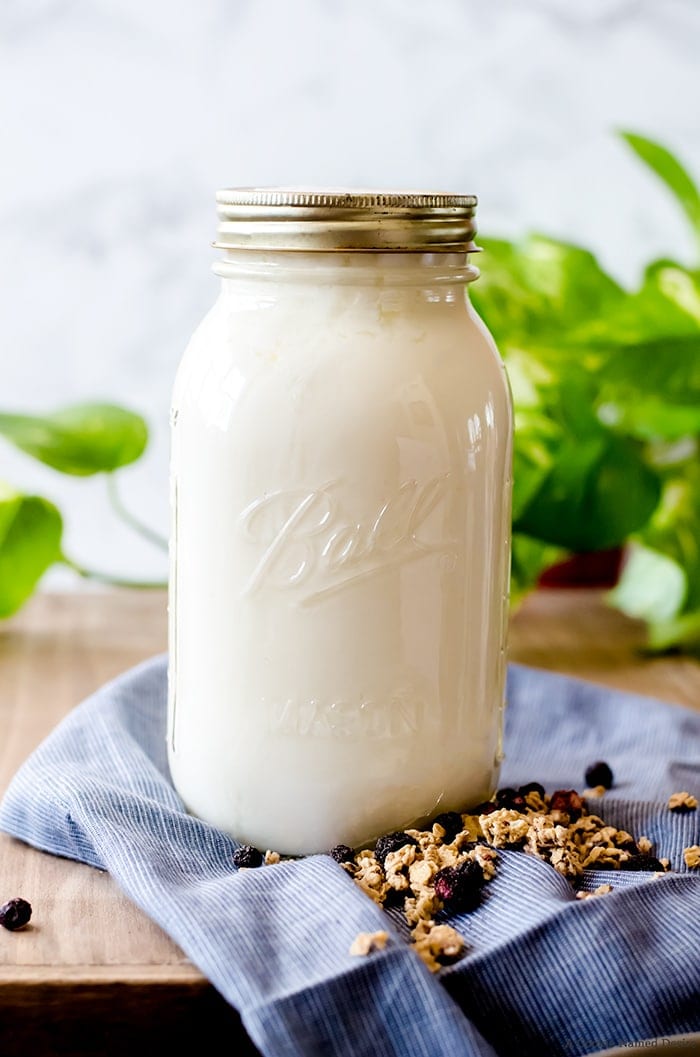
- Either stir in or strain out any whey that forms on top of the set yogurt, depending on how thick you want the yogurt. Reserve the whey for your baking!) Stir the yogurt to ensure it is smooth and creamy and put in jars and refrigerate.
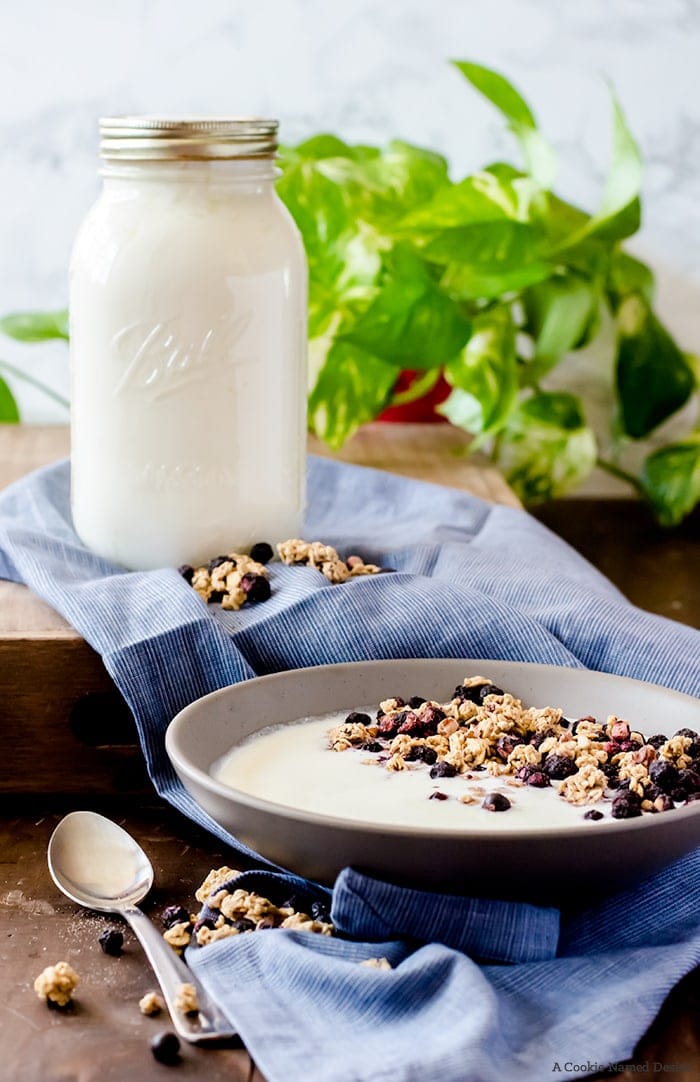
- If you would like flavored or fruity yogurt, mix your additions in the jars and top with the yogurt.
-Store in the back of your refrigerator. Will keep for about two weeks.
-To simplify my life, I've been transferring the yogurt/milk mixture directly into jars which I cover tightly and wrap in towels and leave in a warm, dry area instead of using the pot. I then flavor my yogurt in a bowl as I measure out what we want to eat that morning.

The post How to Make Homemade Yogurt appeared first on A Cookie Named Desire.